a big part of my philosophy on cooking and eating is of course using products and produce that are organic, sustainable and local, but also unprocessed, or what i like to think of as ‘what would laura ingalls wilder do?’ she lived in a day where everything was made from scratch, all foods were basically what we know as organic today, and definitely pre-GMO.
she also didn’t grow up with processed snacks such as cheez-its in her cupboard like i did as a young girl. granted the list of ingredients in cheez-its isn’t nearly as long as many processed chips, crackers or snacks in the same demographic, and they don’t have the evil monosodium glutamate in them, but i have definitely cut way back on my intake of these addictive lil cheesy nibbles due to their processed nature. of course, when craft services puts out the little single serving bags on the table at work, they are very hard to resist, and i usually tuck one away in my set bag to eat in guilt later when i can blame it on the ‘late hours’ or ‘i’m tired’ or ‘i don’t want another fucking piece of fruit’.
so, when my upstairs neighbor, who is a chef, posted a picture on instagram of homemade cheez-its, i about lost my shit, because i fucking love cheez-its!
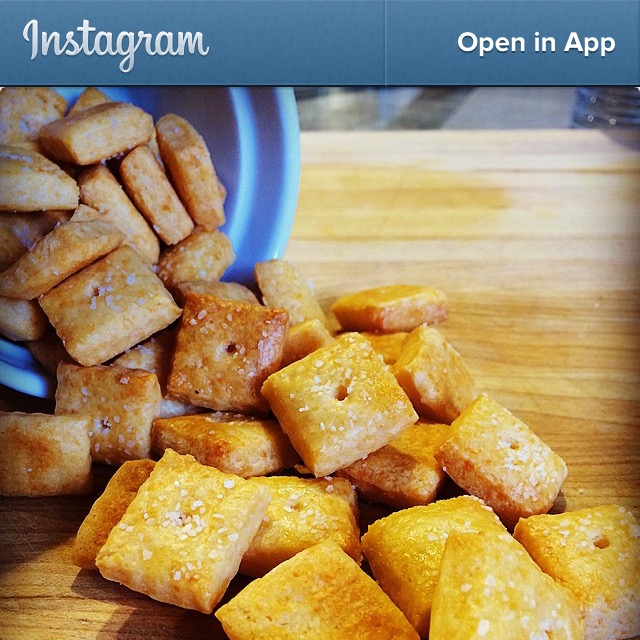
thankfully she was willing to share her recipe.

ingredients:
- 9 ounces (about 2 cups) all-purpose flour
- 1/2 tsp baking powder
- 1/2 tsp paprika
- 3/4 tsp kosher salt, plus more for sprinkling
- 6 tbsp unsalted butter, room temperature
- 7.5 ounces (about 3 1/2 cups) extra sharp cheddar cheese, finely grated
- 2-4 tbsp ice water
- 1 large egg white, lightly beaten
directions:
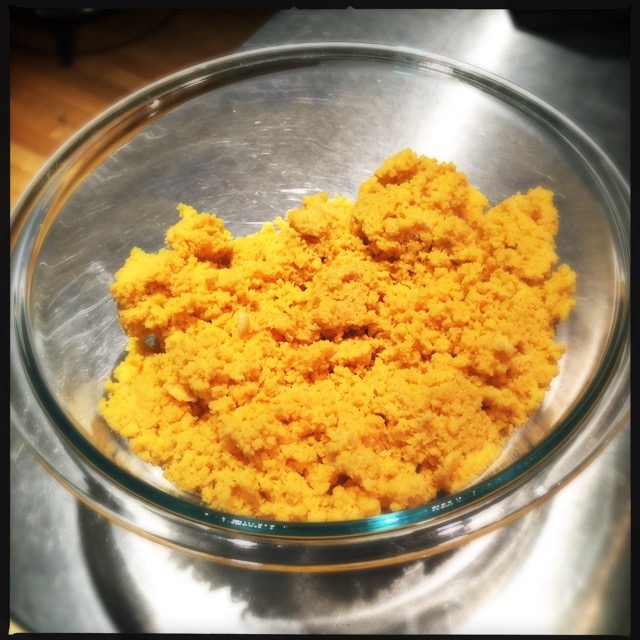
in the bowl of a food processor add the flour, baking powder, paprika and salt. pulse to combine. add the butter and cheese, and pulse until very well combined. add 2 tbsp of ice water and pulse until the dough is just wet enough to come together when squeezed. add up to 2 tbsp more water if necessary.
divide the dough between two pieces of plastic wrap. press each half of dough into a flat square, wrap well, and chill for at least 30 minutes.

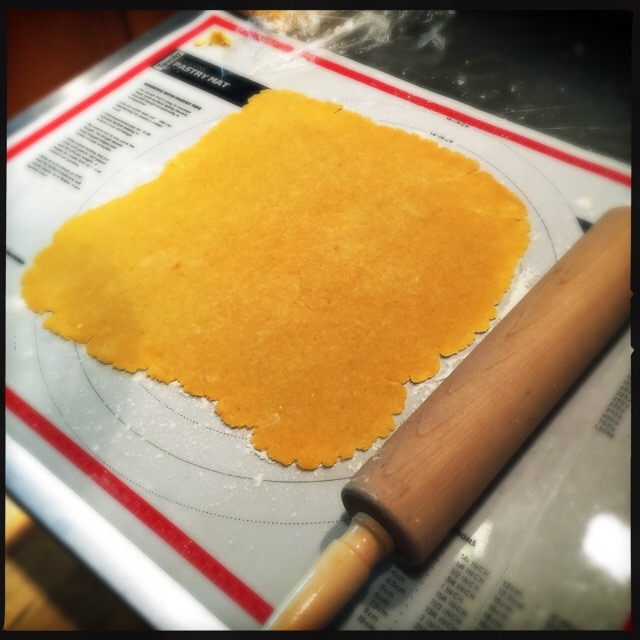
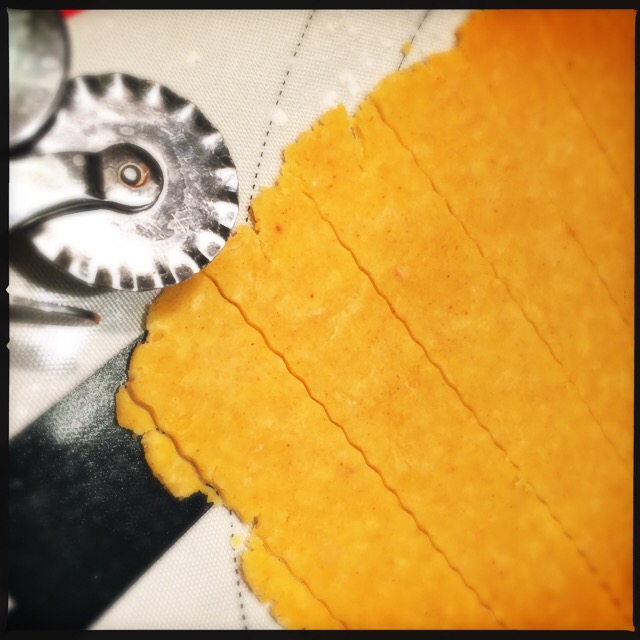
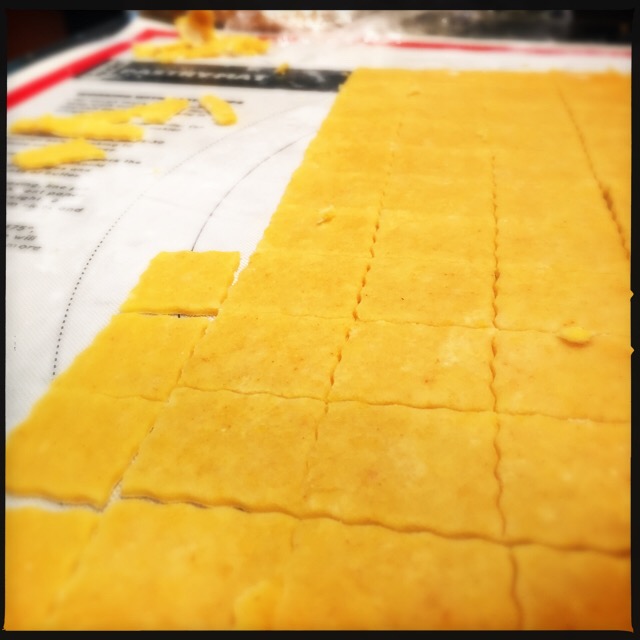
working with one square at a time, roll the dough out to a scant 1/8-inch thick. using a fluted pastry wheel, cut the dough into 3/4-inch wide strips, and then in the other direction to make 3/4-inch squares.
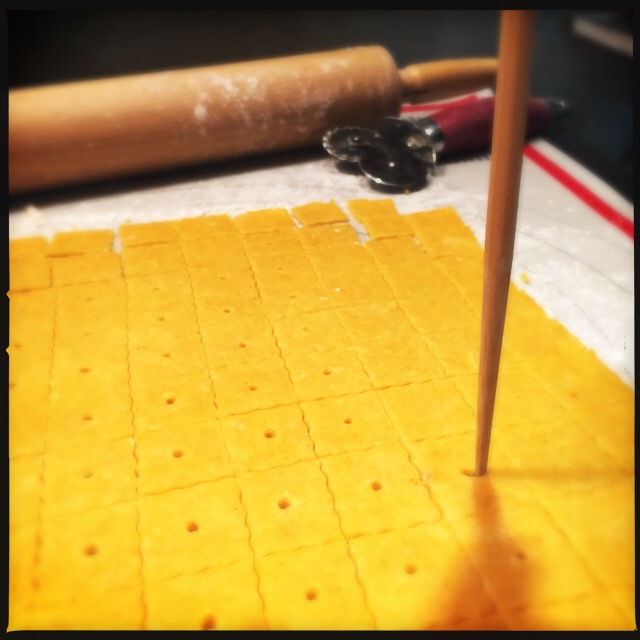
use a wooden skewer, or chop stick, to poke a hole in the center of each square.
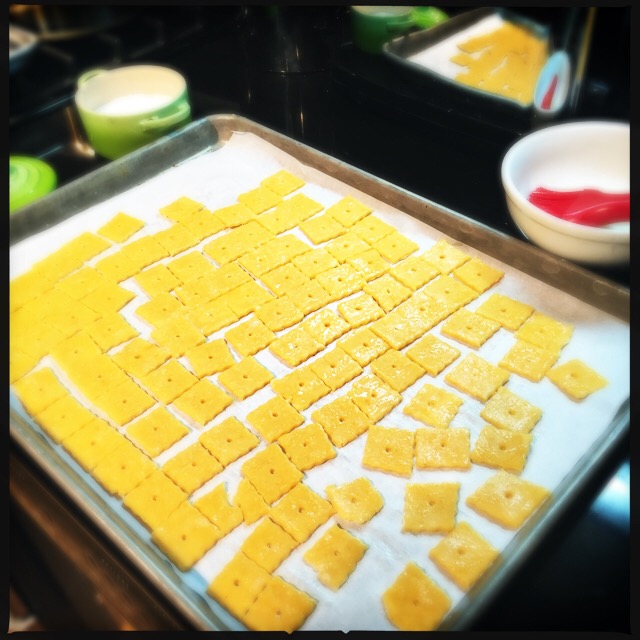
transfer squares to a parchment lined baking sheet and freeze the dough until firm, about 10-15 minutes. do the same with the other square of dough.
preheat the oven to 350˚ F.
brush the squares with the egg white and sprinkle with salt. gently break the squares apart and transfer the parchment onto a different baking sheet that hasn’t been in the freezer.
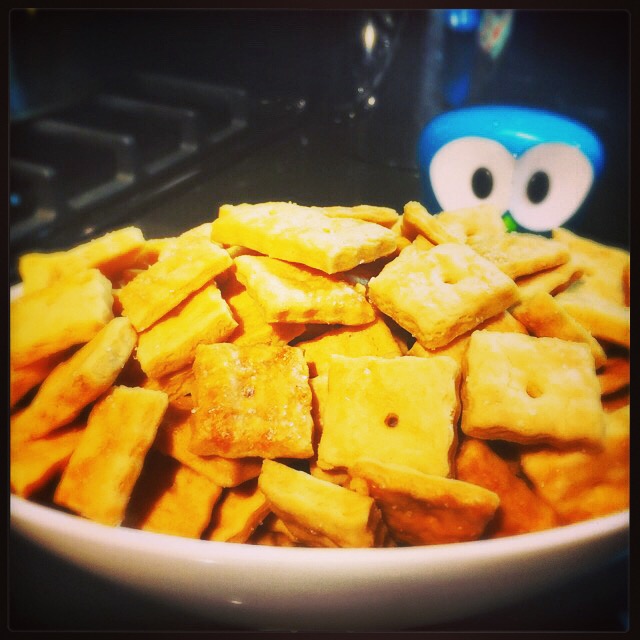
bake until puffed, set, and browned on the bottom. make sure to bake them well, so that the finished crackers are crisp. (completely frozen dough may take extra time.) start checking them at 15 mins, but can take up to 20-30 mins.

transfer the parchment with the crackers to a cooling rack. store cooled crackers in an airtight container.
makes about 5 cups.
thanks to chef jamie lauren for the recipe, and my renewed addiction.


